How to Make Your New Photos Look Vintage
By:
Mitch Wiesen
on 9/1/2020
I’ve always been drawn to the warm, friendly way film captures reality. I found my first analog camera, a Canon AE-1, sitting on a blanket at a flea market at age 14, and I was enamored. I bought the $5, untested, dusty camera and spend the next 3 months figuring out how to fix the film rewind crank, then the shutter release button, and then the film advancer. I was dying to see what she could do by the time I got her working. I was ready for beautifully saturated, high contrast photos, but what I got was a bunch of desaturated, grainy photos, with the lowest contrast I’ve ever seen. It didn’t matter– I was hooked.
11 years, thousands of photos, and 28 analog cameras later, I’ve learned just how much I don’t know about film photography. I’ve owned perfect cameras, and barely functioning cameras, and the latter is my favorite to shoot with. The photos I develop are always a surprise– the light leaks and the colors that show up are un-guessable.
Unfortunately, when developing a photography style for a client, the “surprise” of amateur film photography is rarely appealing. In this instance, I like to suggest digital photography that’s been edited to have that vintage “feel”. I successfully pitched the concept of doing Lomography-style photography for our client, Louisville Parks Foundation.
Nothing could ever replace the real thing, but I think this tutorial will get you pretty close:
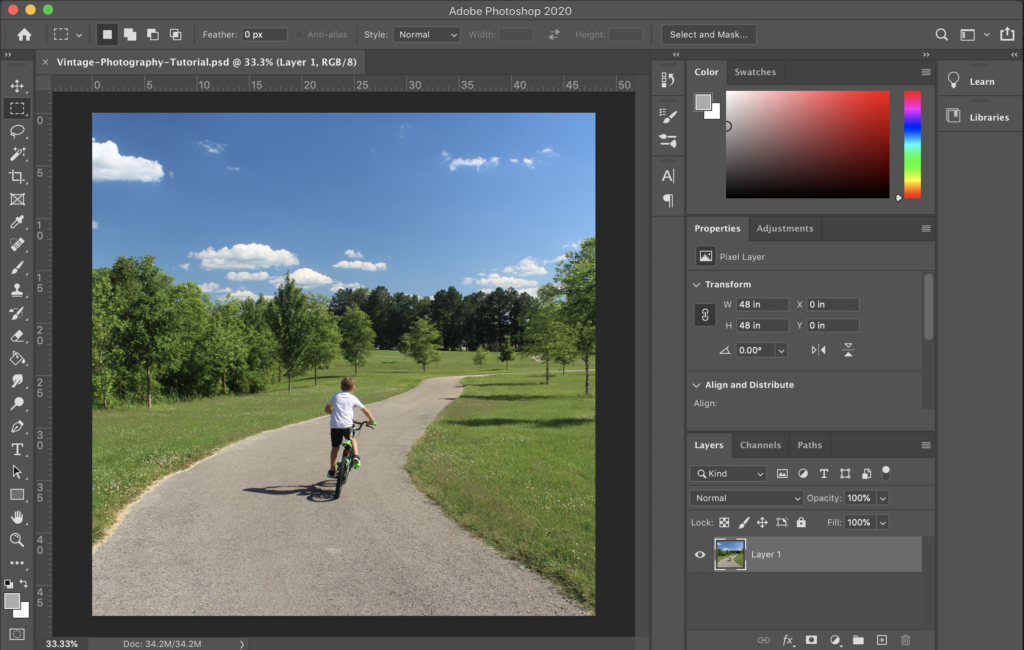
Step 1
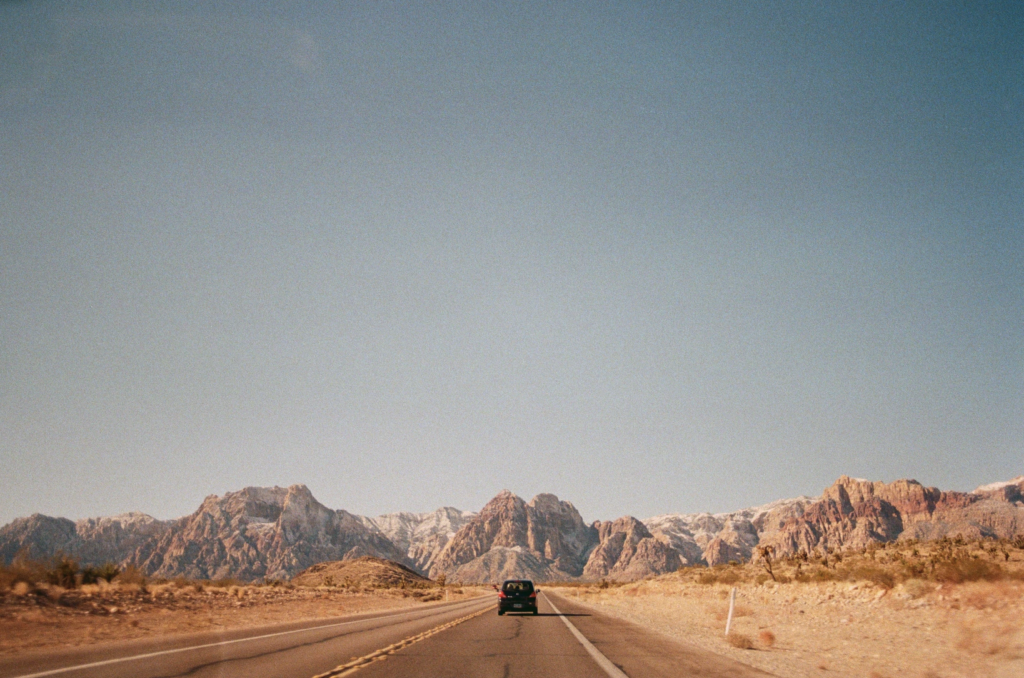
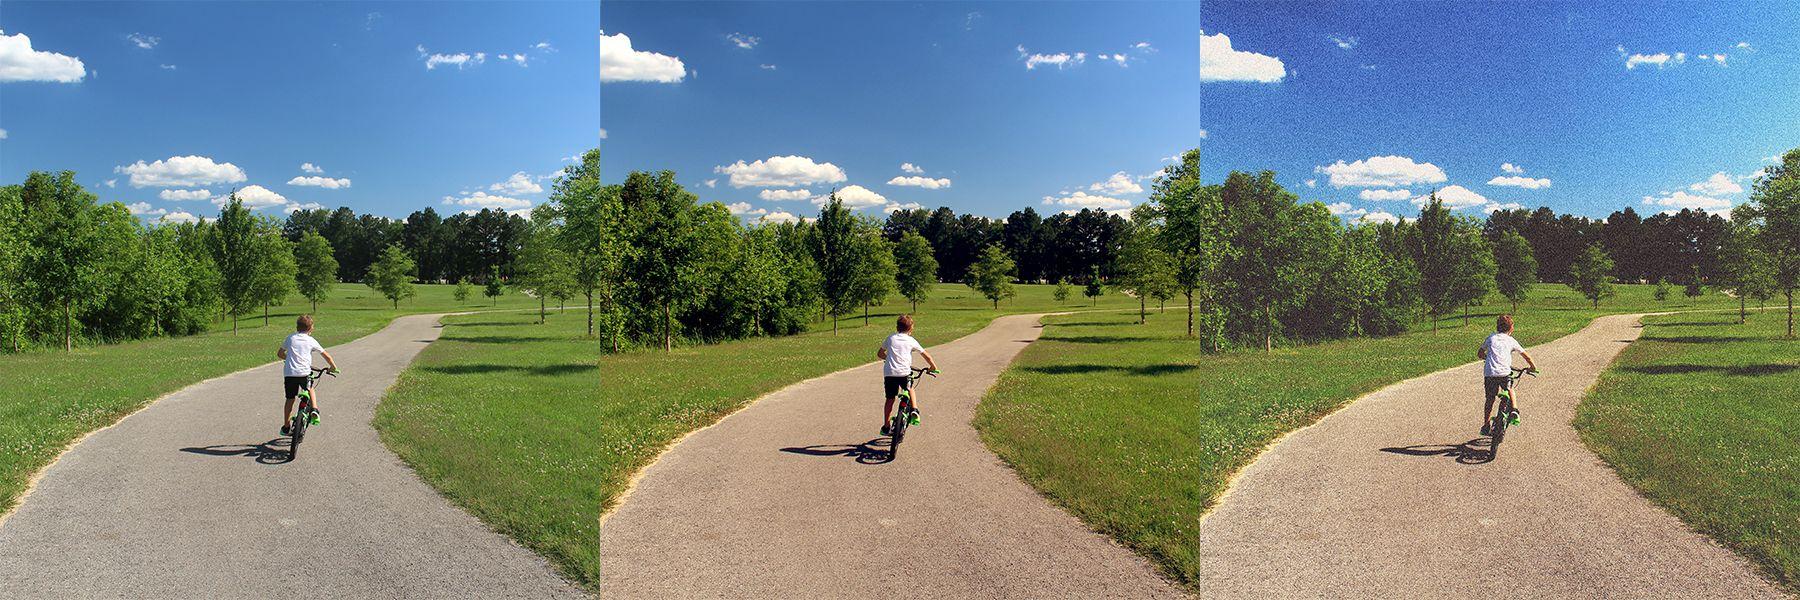
Take your digital photo. You can use anything from a DSLR to your phone; depending on the final quality you're looking for, you may not need a very advanced camera. I'll be using this photo taken on a Canon EOS.
Step 2
Go to "adjustments," and select "color balance." Generally, you should be increasing the red and yellow in your highlights and mid-tones, and the blue in your shadows. You can see the exact numbers I went with in the screenshots below.
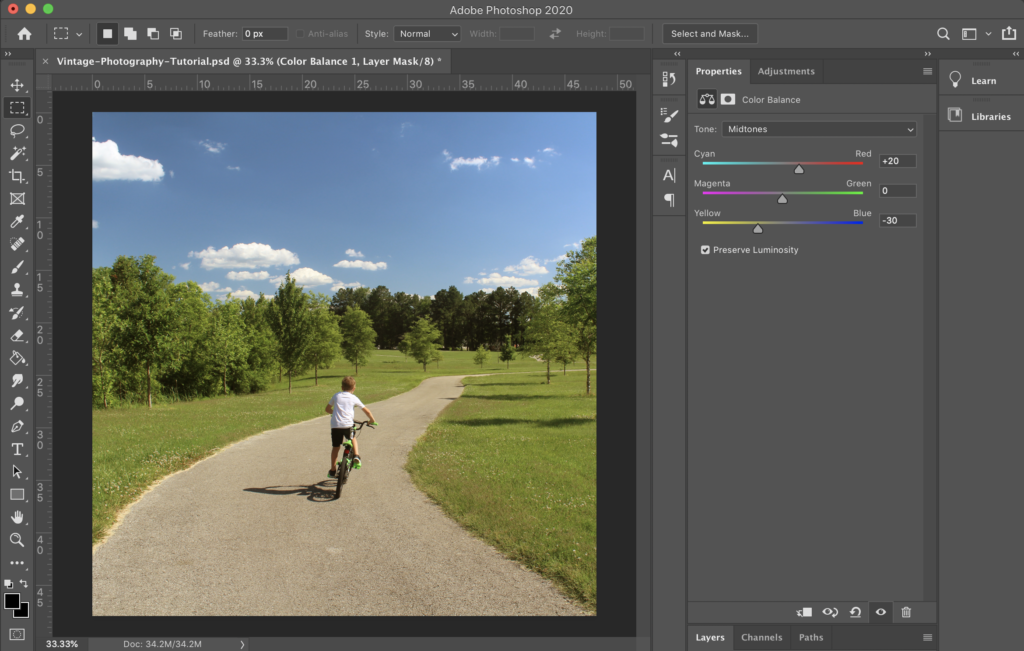
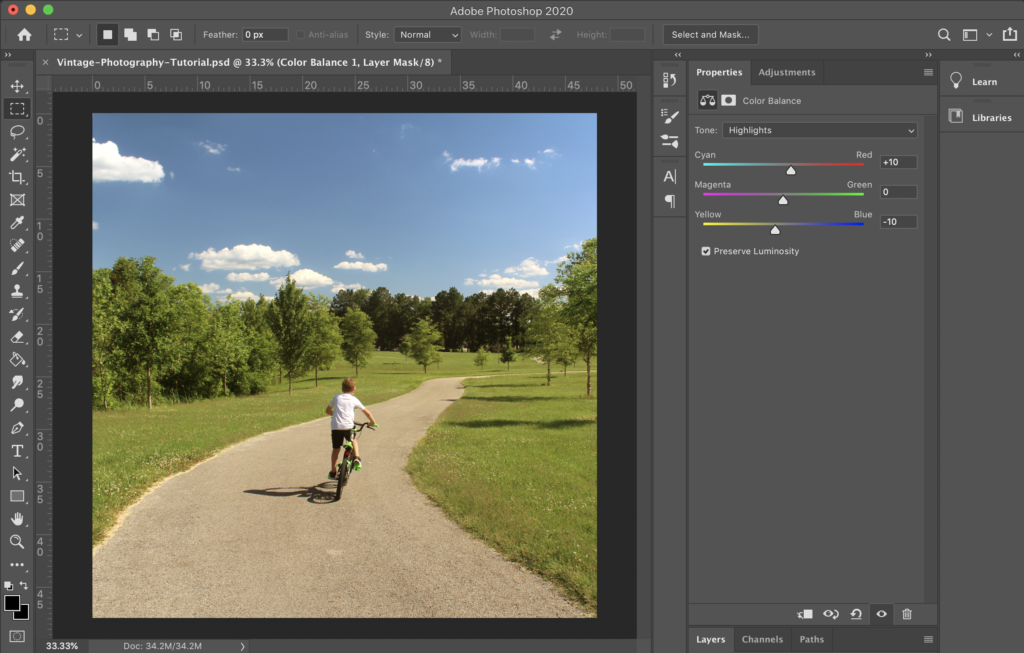
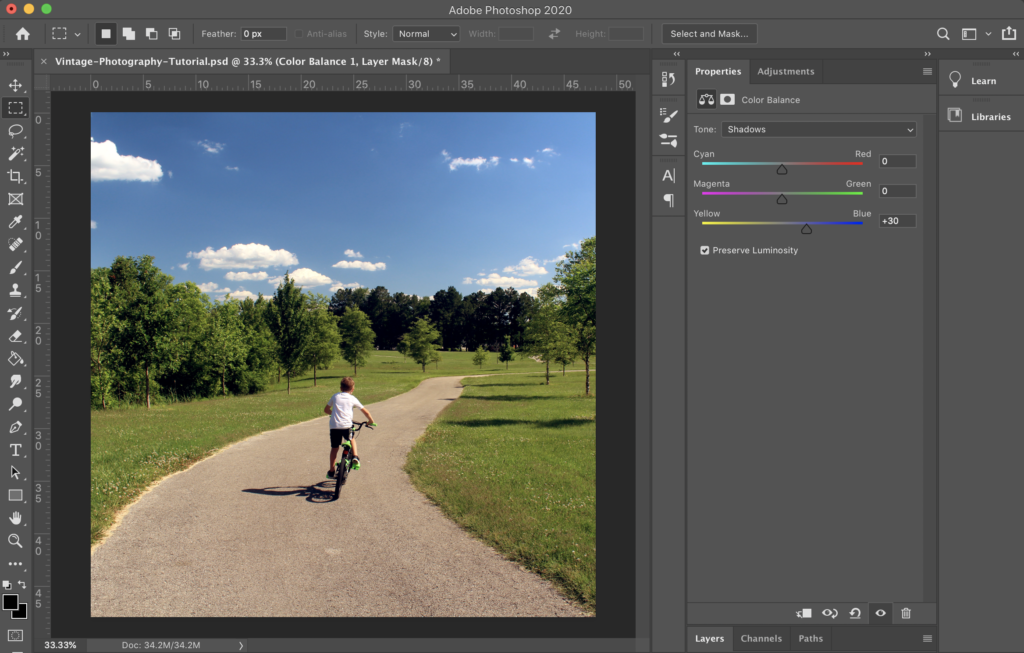
The changes I made were pretty subtle, and the color adjustments can certainly be pushed harder. For this client, we were aiming for vintage inspired, more than a realistic vintage photo. To push your photo to look even more vintage, go on to step 3 and 4.
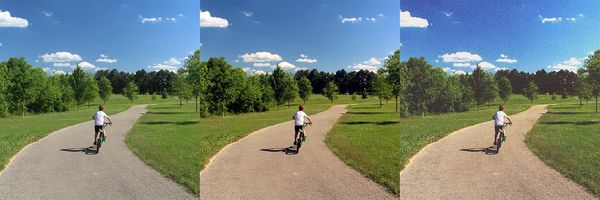
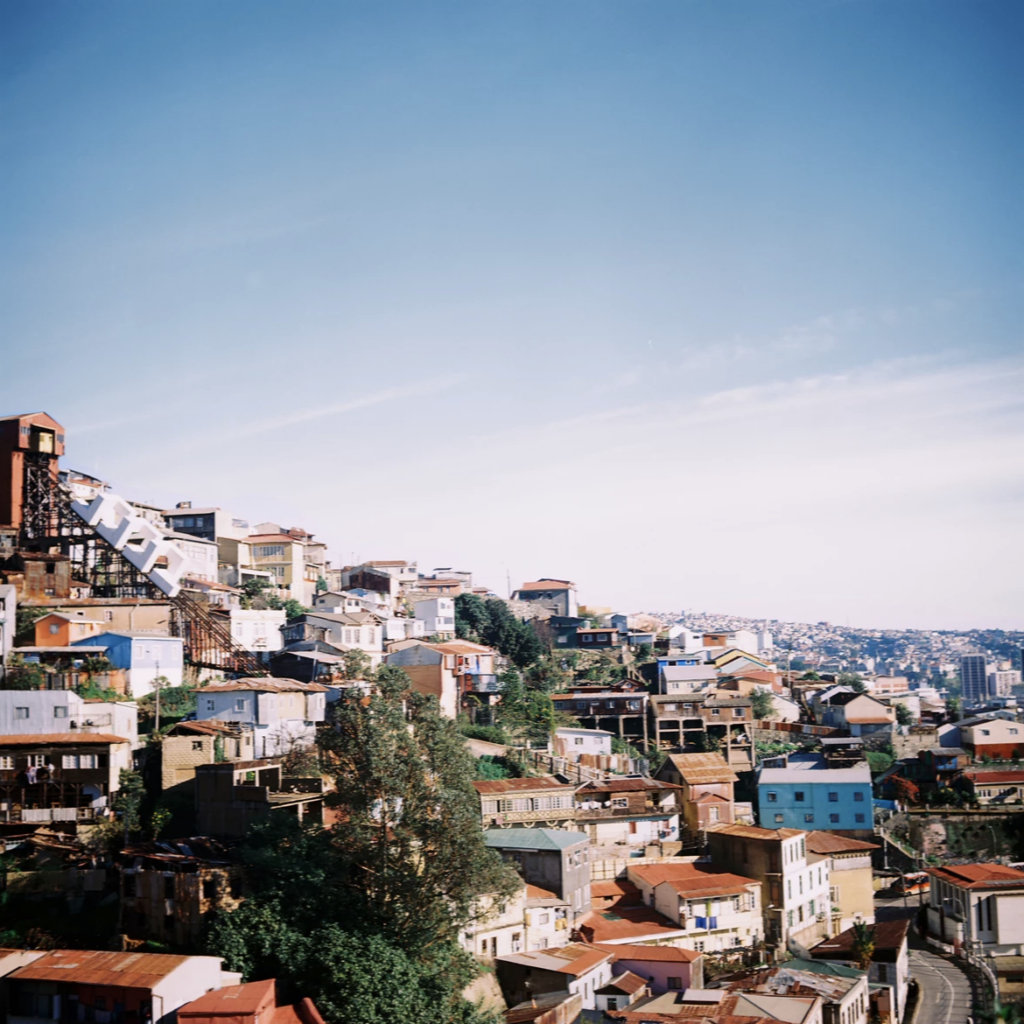
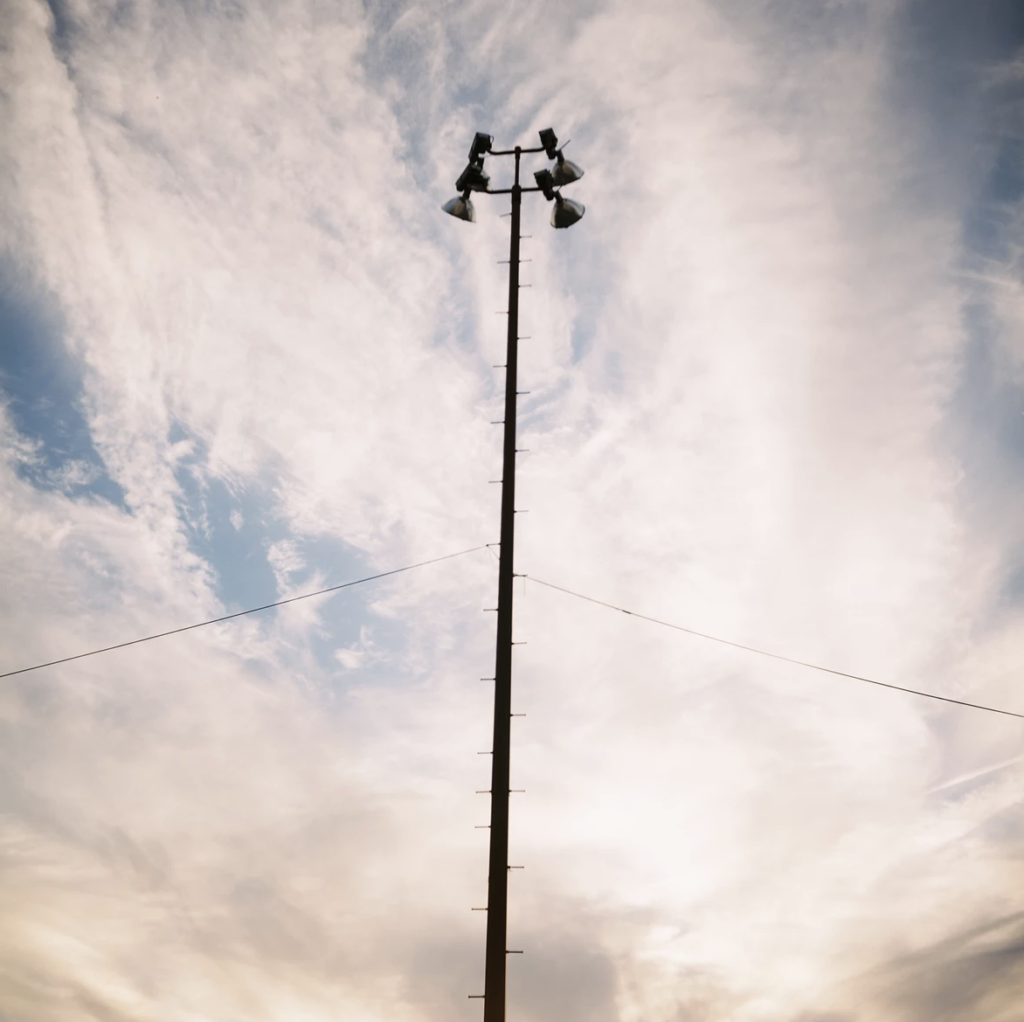
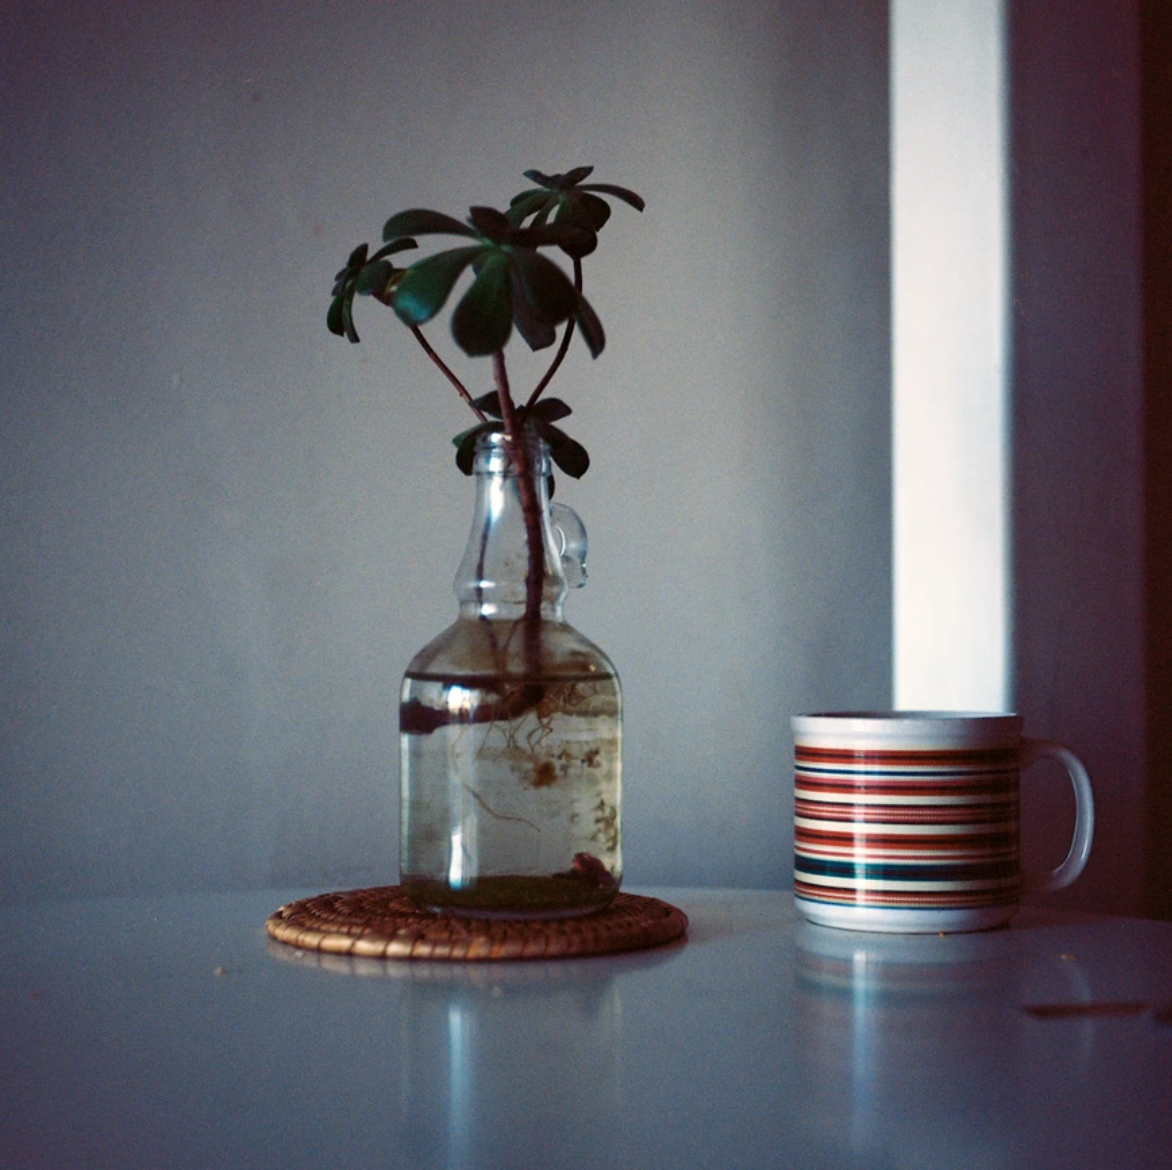
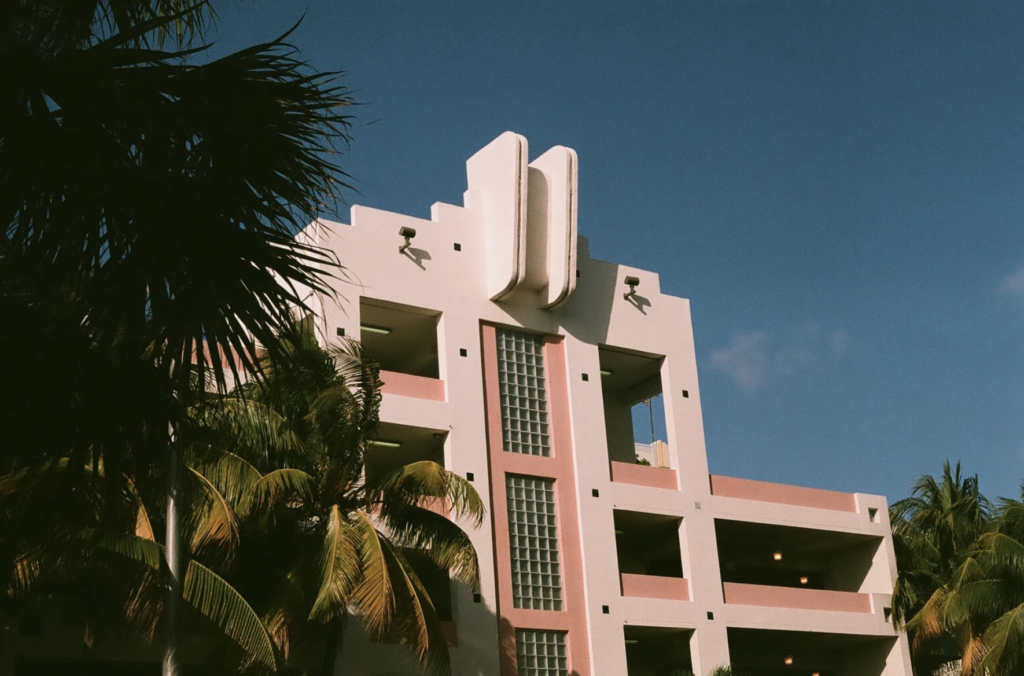
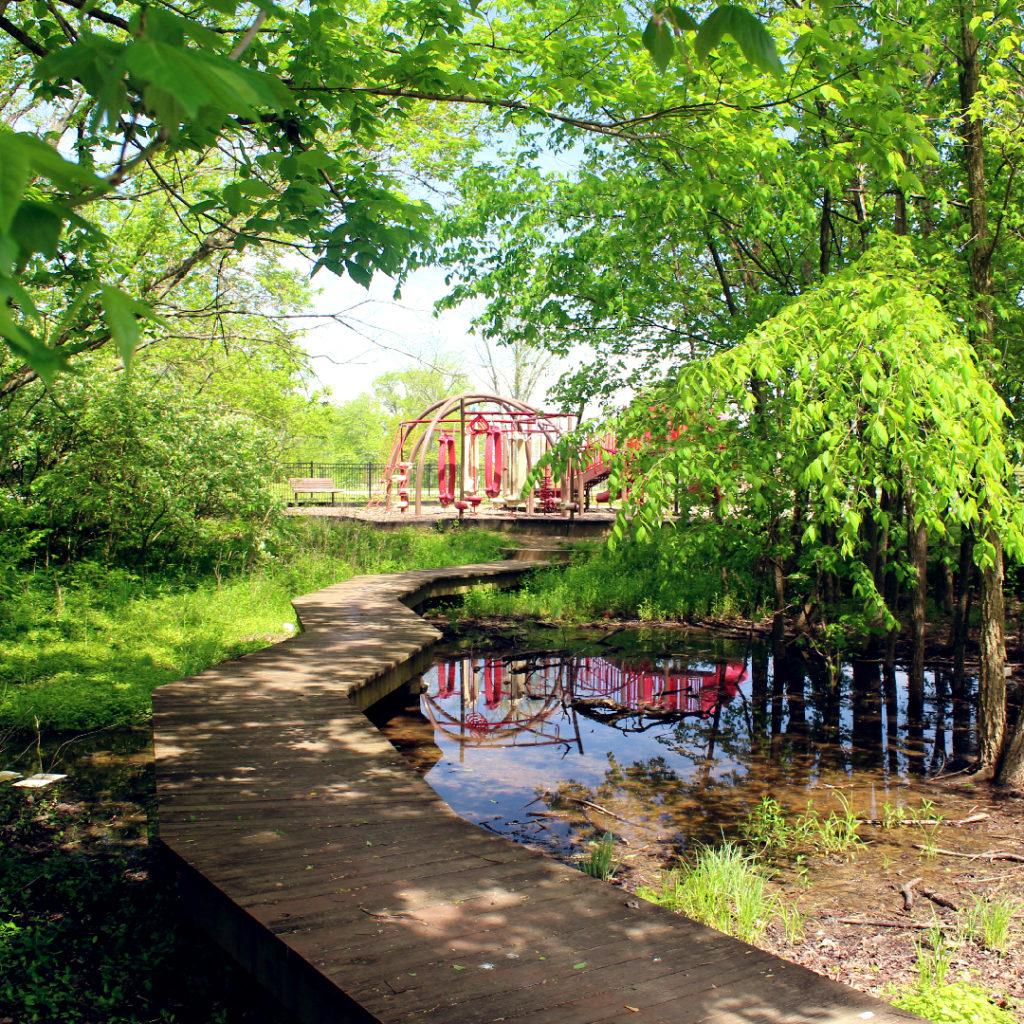
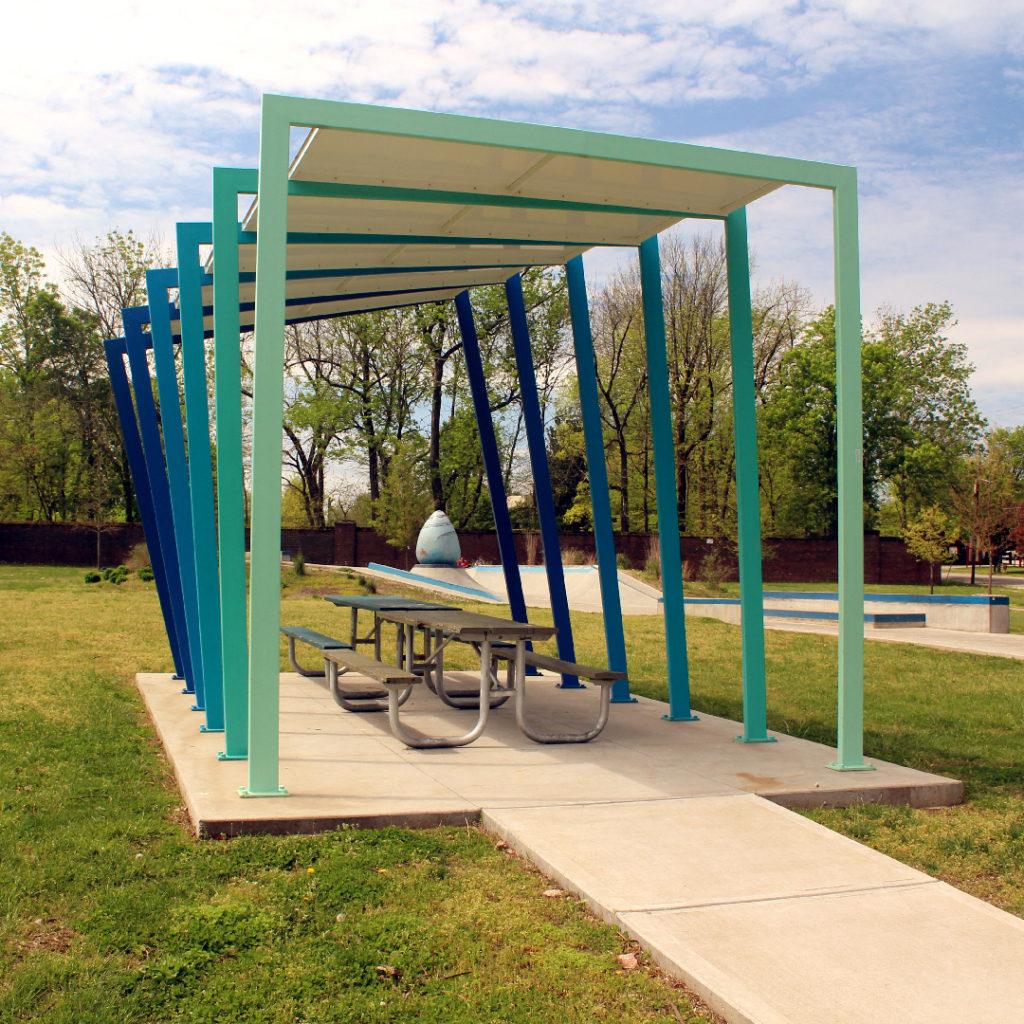
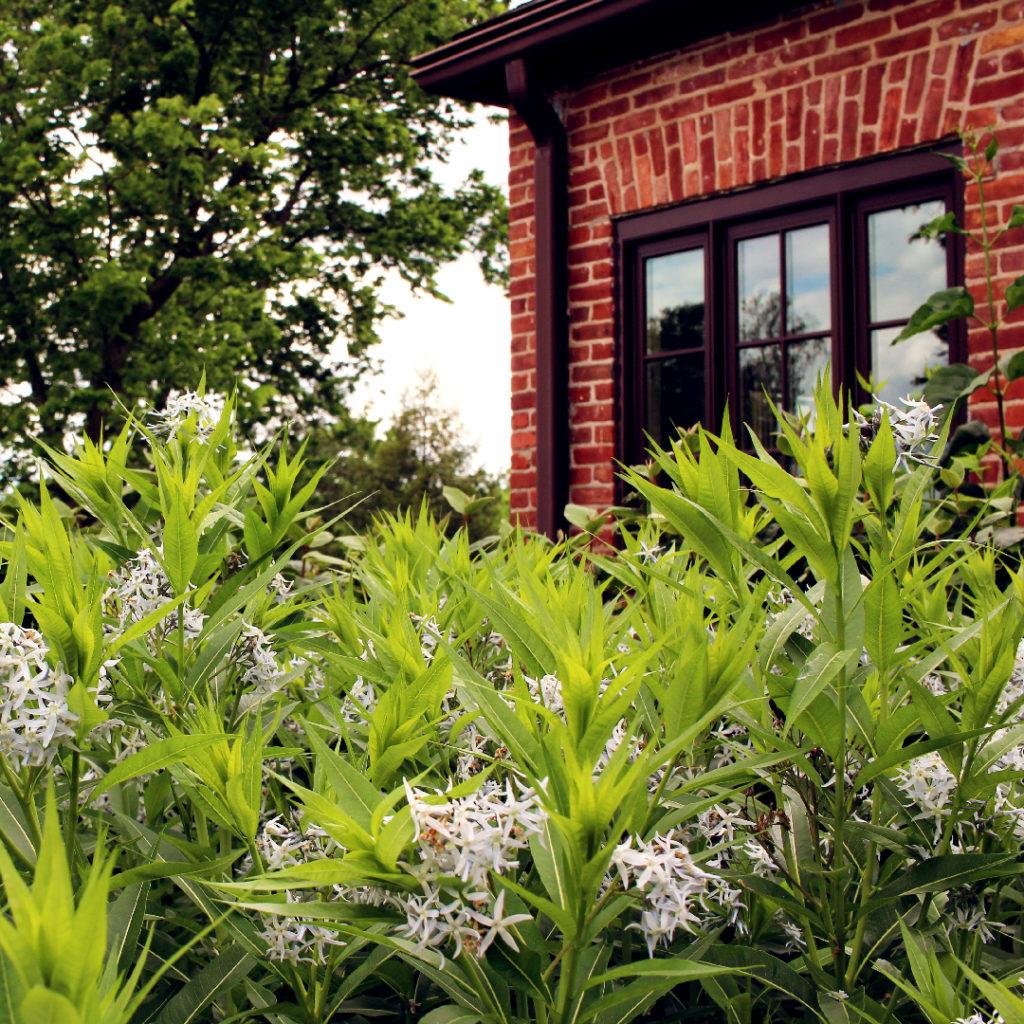
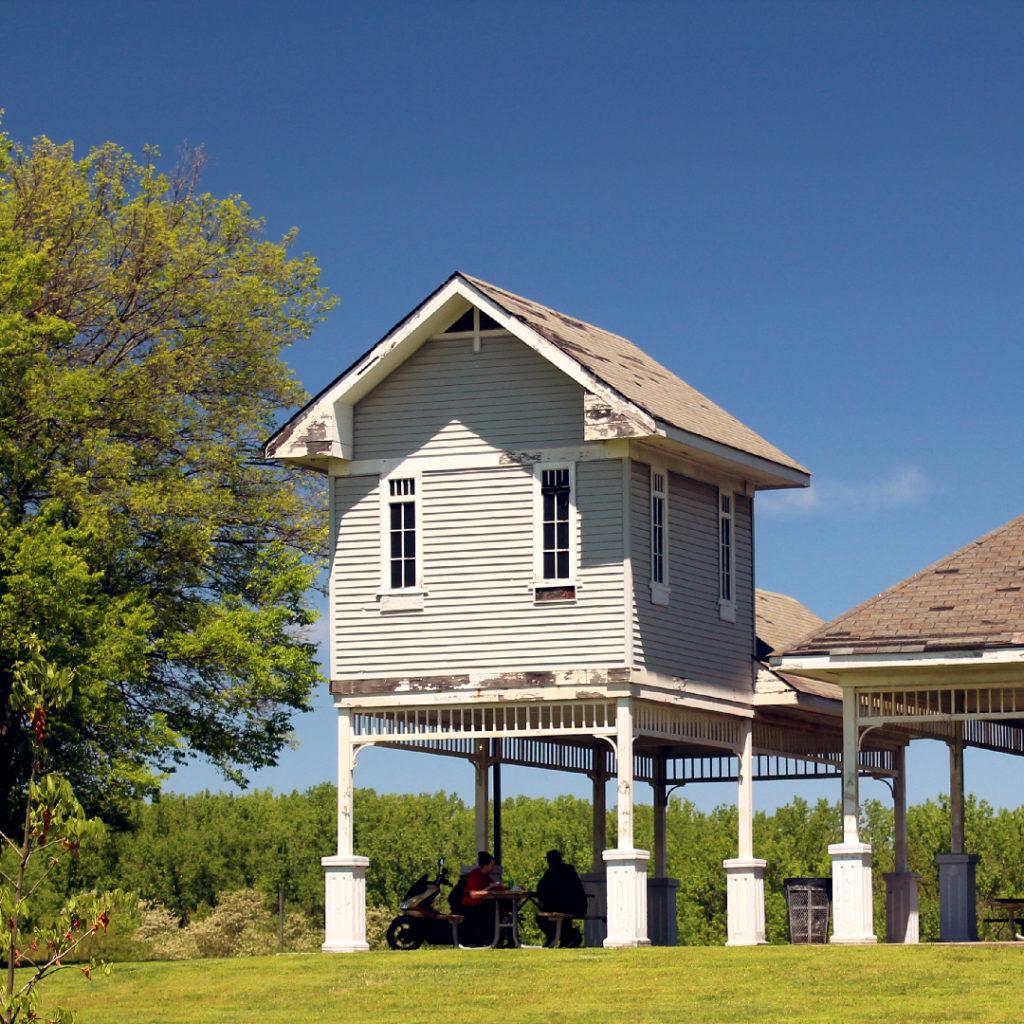
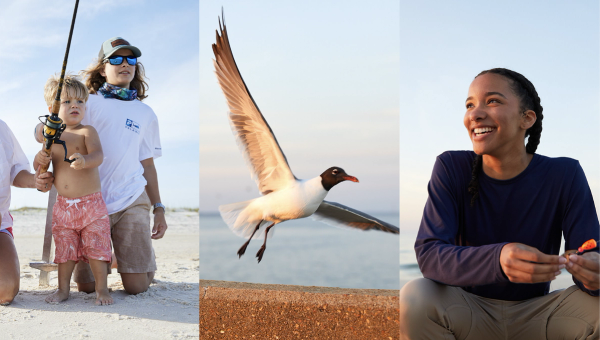
Here are some examples of the photos we created for Louisville Parks Foundation:
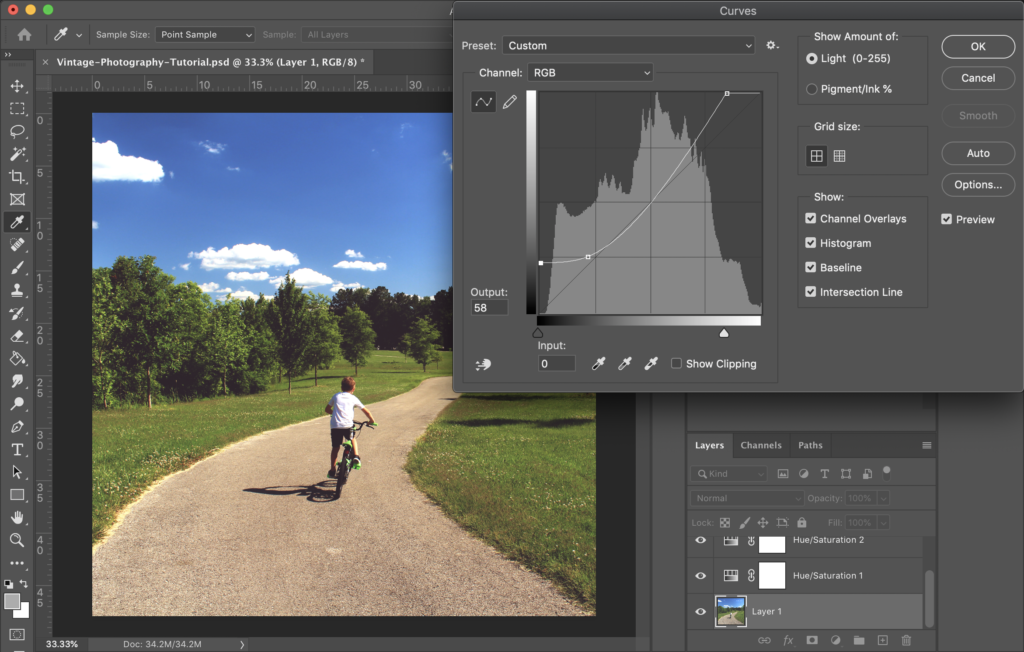
Step 3
Blow out your highlights and wash out your shadows.
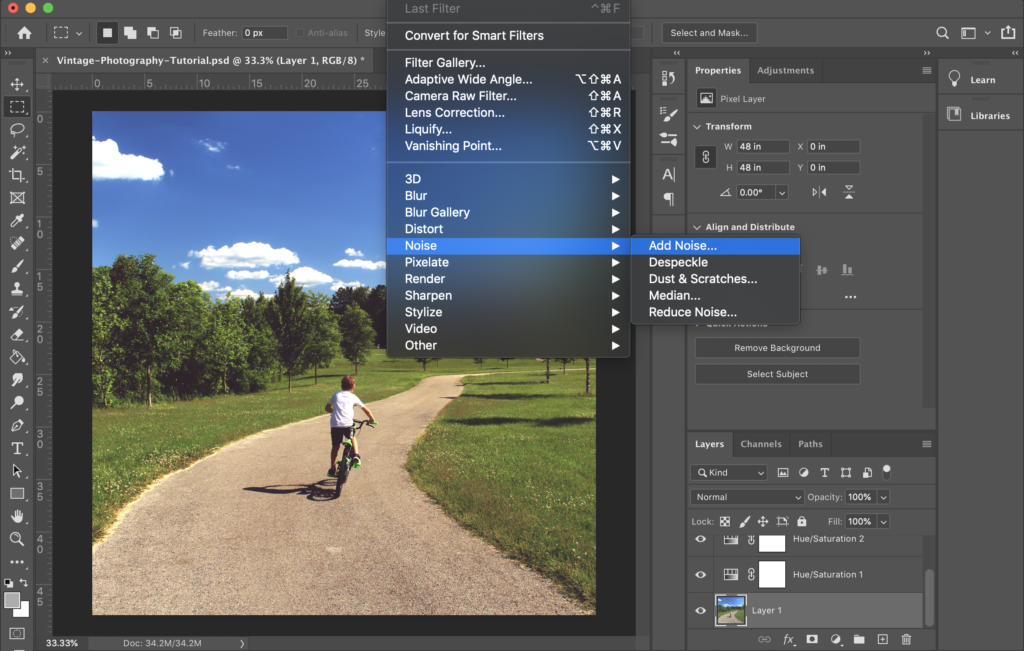
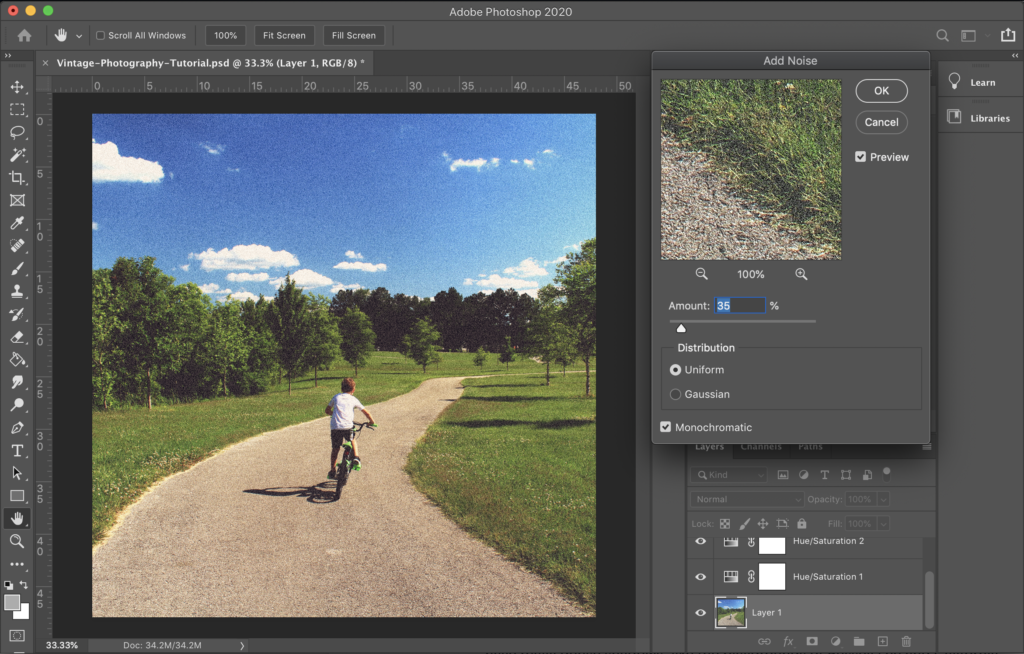
Step 4
Add noise to your satisfaction.
And you're done! Don't forget to compare the adjustments you made to the original photo.
Related Posts
Reel Stories: A Photography Project Exploring Inclusivity in Fishing
By: Zoe Cope on 7/14/2023
Find out how we captured diverse fishing experiences across Florida and Kentucky with a mighty team of five.
Read More »
OBS Studio Tips & Tricks: Super Cool Webcam Options
By:Jason Clark on 1/5/2021
OBS Studio is an open-source, live streaming application that allows you to integrate graphics, videos, multiple camera sources, text, and more into its viewport, and more importantly, use that viewport as a webcam source.
Read More »